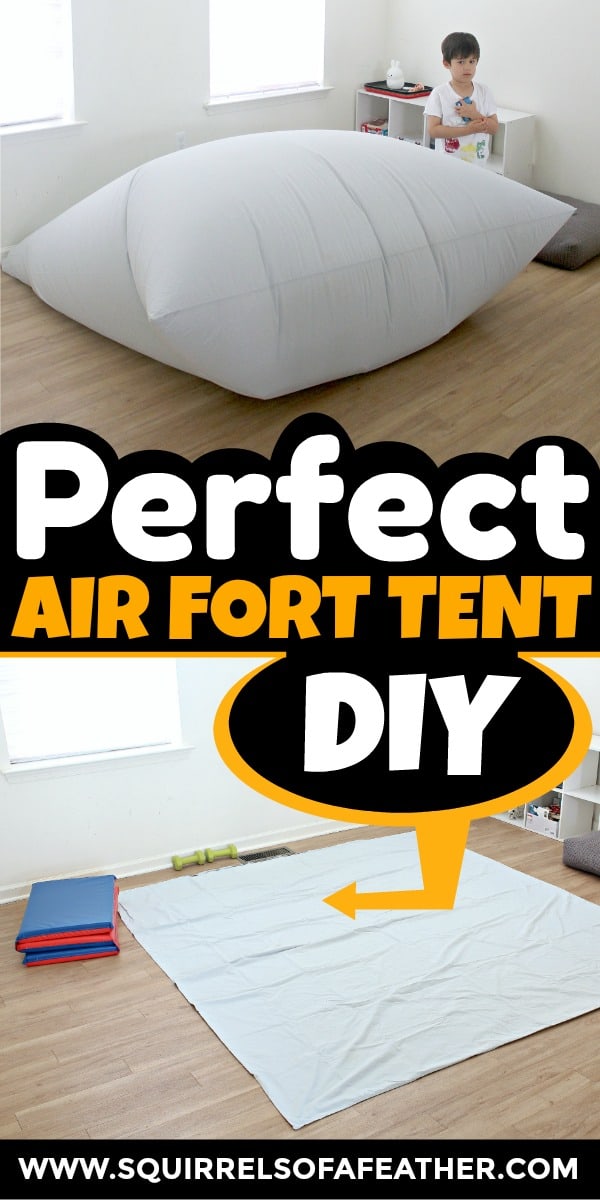
How to Make a DIY Air Fort Tent in Less Than 5 Minutes!
This post may contain affiliate links for your convenience. That means that if you make a purchase, I will receive a small commission at no extra cost to you. Read more here.
Need an easy way to keep your kids entertained indoors without much fuss and mess? Find out how to make a DIY air fort for kids that will keep them entertained for HOURS!
Is it a bubble?
Is it a cloud?
Is it an air fort?
It’s all of those and more…
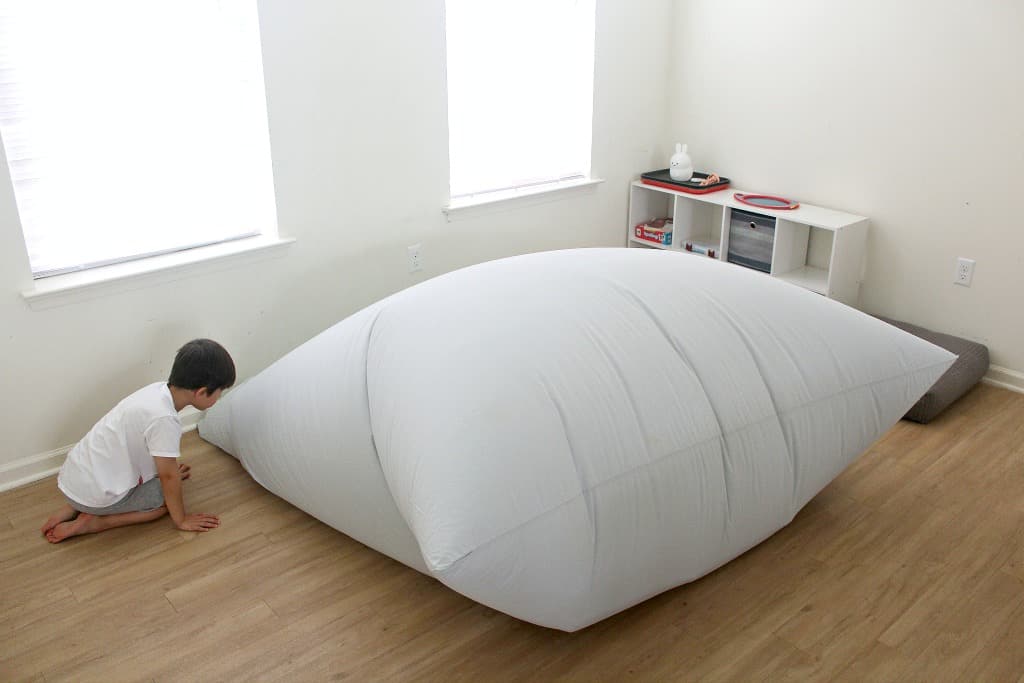
This air fort DIY is so much FUN!
Did you ever make an air fort as a kid?
When the summer sun got too overwhelming for us, my sister and I would head indoors to make an air fort.
We LOVED to make our own DIY air fort tents.
I knew that when I had kids of my own, I would be sharing my love of air tents with them.
(I guess you could say this air fort DIY technique is knowledge that has been passed down through generations.)
Air forts make a great quiet time activity for kids – they spark imagination and require creative problem-solving.
Here are some nice benefits air fort play can offer:
- Inspires creativity – your child can imagine they are a turtle, hiding in a cave, or even riding on a cloud! Air fort tents are GREAT for inspiring creative play.
- Quiet time activity – in general, air forts make a nice quiet time activity; air fort tent play is much quieter than, say, a game of freeze tag in your living room.
- STEM & problem solving – how much science goes into making an air fort? A lot more than you might think! Kids will have to figure out the optimal way to position the sheets and hold the entrance in place so the air doesn’t leak. When the air DOES leak, they need to problem-solve ways to keep the air trapped inside for maximum bubble-age. They will be in awe as they see the air puffing up the fort!
- Easy to make – this air fort DIY is fully inflated and ready in less than 5 minutes.
- No toy clutter – after decluttering 95% of our toys I am not about to bring more into our home! This activity uses stuff you already have laying around your house. Once you are done, fold it up and put it away – no stress, no mess.
READ MORE: 37 Non-Toy Gifts for Kids That Will Ignite Their Inner Genius
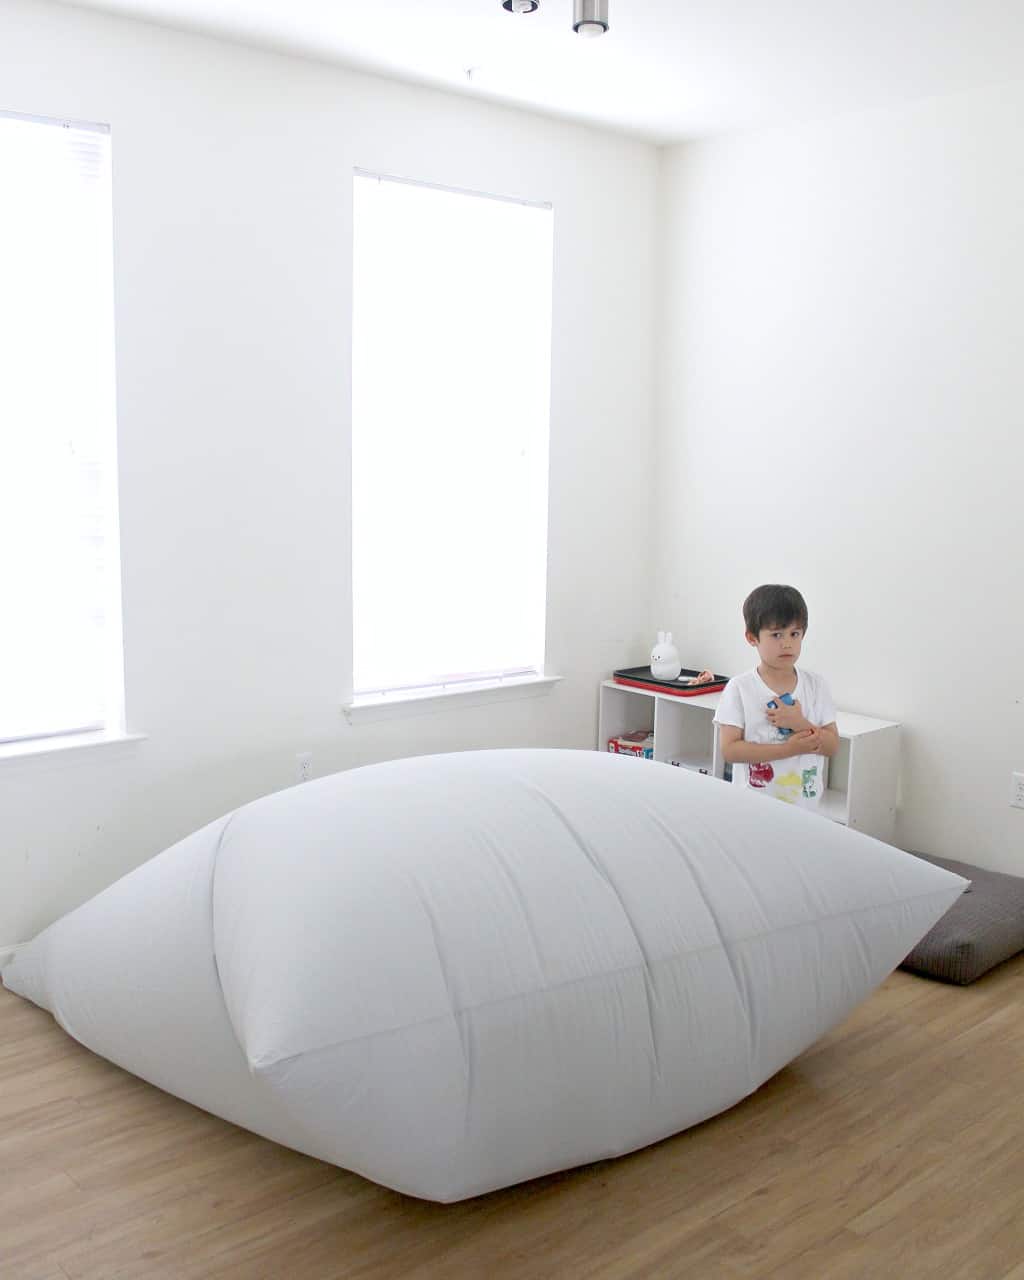
Should you use an air fort tent fan?
I personally don’t like using box fans for air fort tents.
I just get squeamish thinking about tiny fingers fiddling around with fans; my method is much safer and less stress-inducing.
Instead, for this DIY air fort, you will just use the vents on your floor!
QUICK NOTE: If you already have a box fan, your children are a bit older, or your home doesn’t have floor vents, you might look into getting one of the super cool inflatable air fort tents – they come in all different colors and are pretty cheap! Click the image above to check them out on Amazon.
What you need to make an air fort tent:
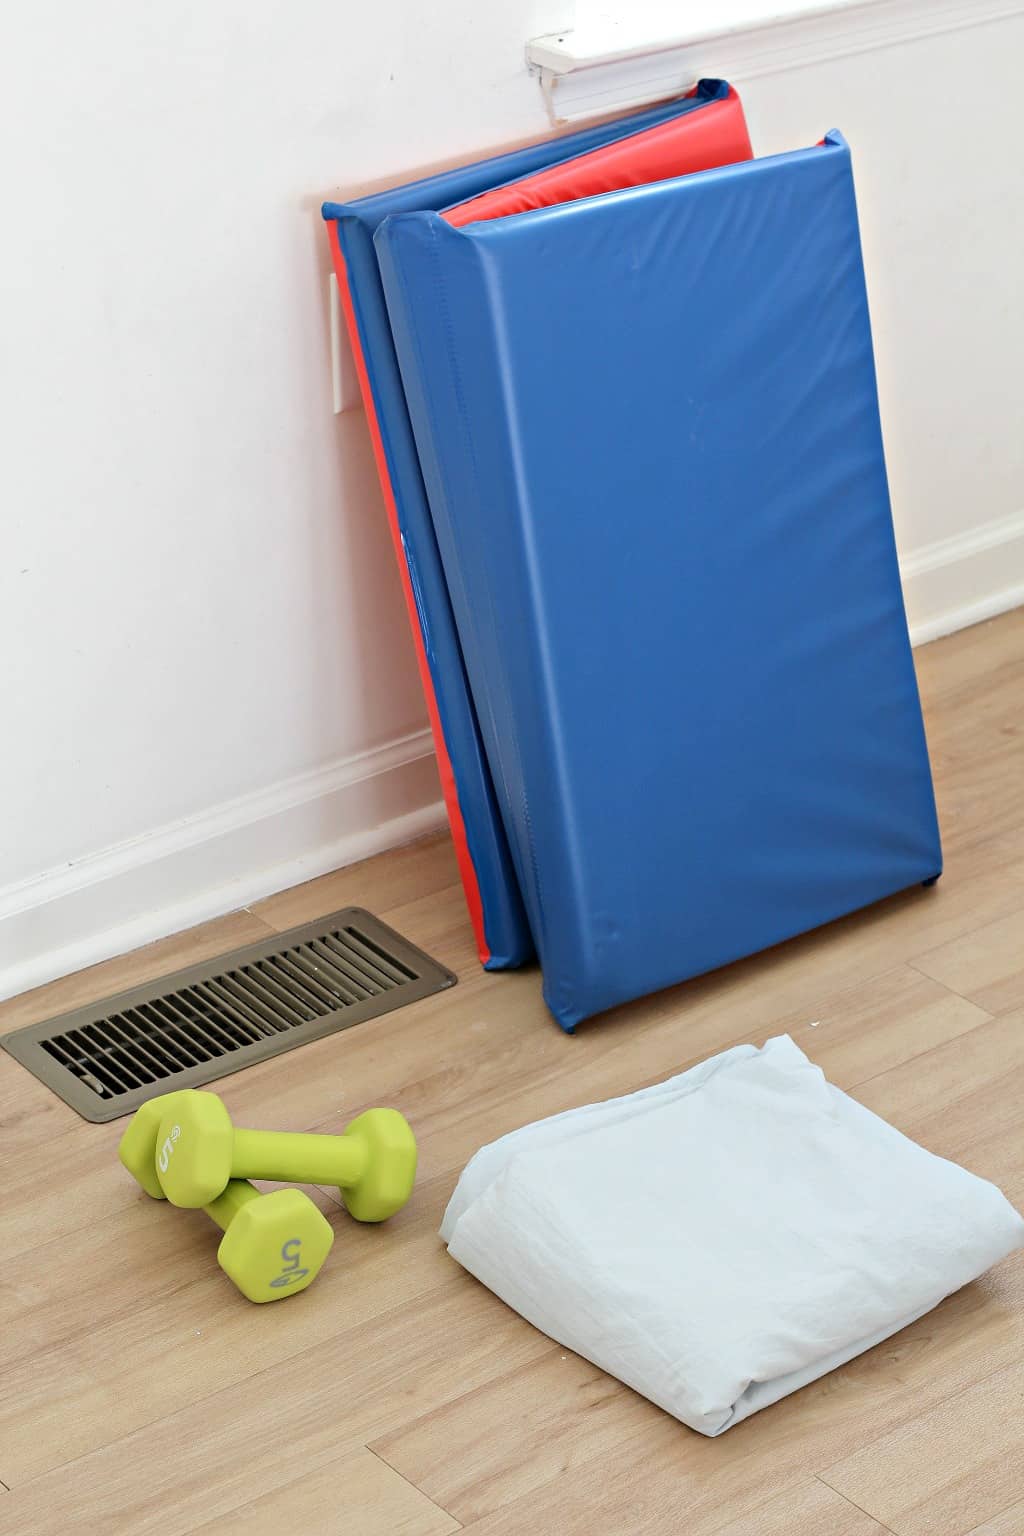
Here are the items you will need to make this air fort DIY tent at home.
- Lightweight fitted sheet or duvet cover (I used a duvet cover)
- Some weights or books to hold the opening in place
- A playmat for comfortable sitting inside (optional)
- A working air vent (air conditioning, fan, or heating)
You probably already have fitted sheets or duvet covers sitting around your home, no need to buy new ones if that is the case!
Remember, we are all about less stuff and more happy here at Squirrels of a Feather.
Likewise, use light hand weights or books that you have lying around to close up the opening of the fort or hold any leaks in place.
Nothing too heavy!
We don’t want to squish precious little fingers.
While a play mat is not necessary if you have hardwood floors like we do it can make a nice touch for comfortable seating inside the air fort.
How to make an air fort
#1. Gather your supplies
Gather all the air fort DIY supplies listed above.
Unfold the sheet or duvet cover; have your kids help you if they are old enough!
#2. Put the sheet over the vent
Place the sheet over the vent (the vent can be on or off while you are doing this.)
If you are using a duvet cover, align the opening with the vent so that the air directs into the cover.
(If you are using a cushion or play mat, put it underneath the sheet or inside the duvet cover before doing this.)
#3. Put books or weights on top of the sheet opening
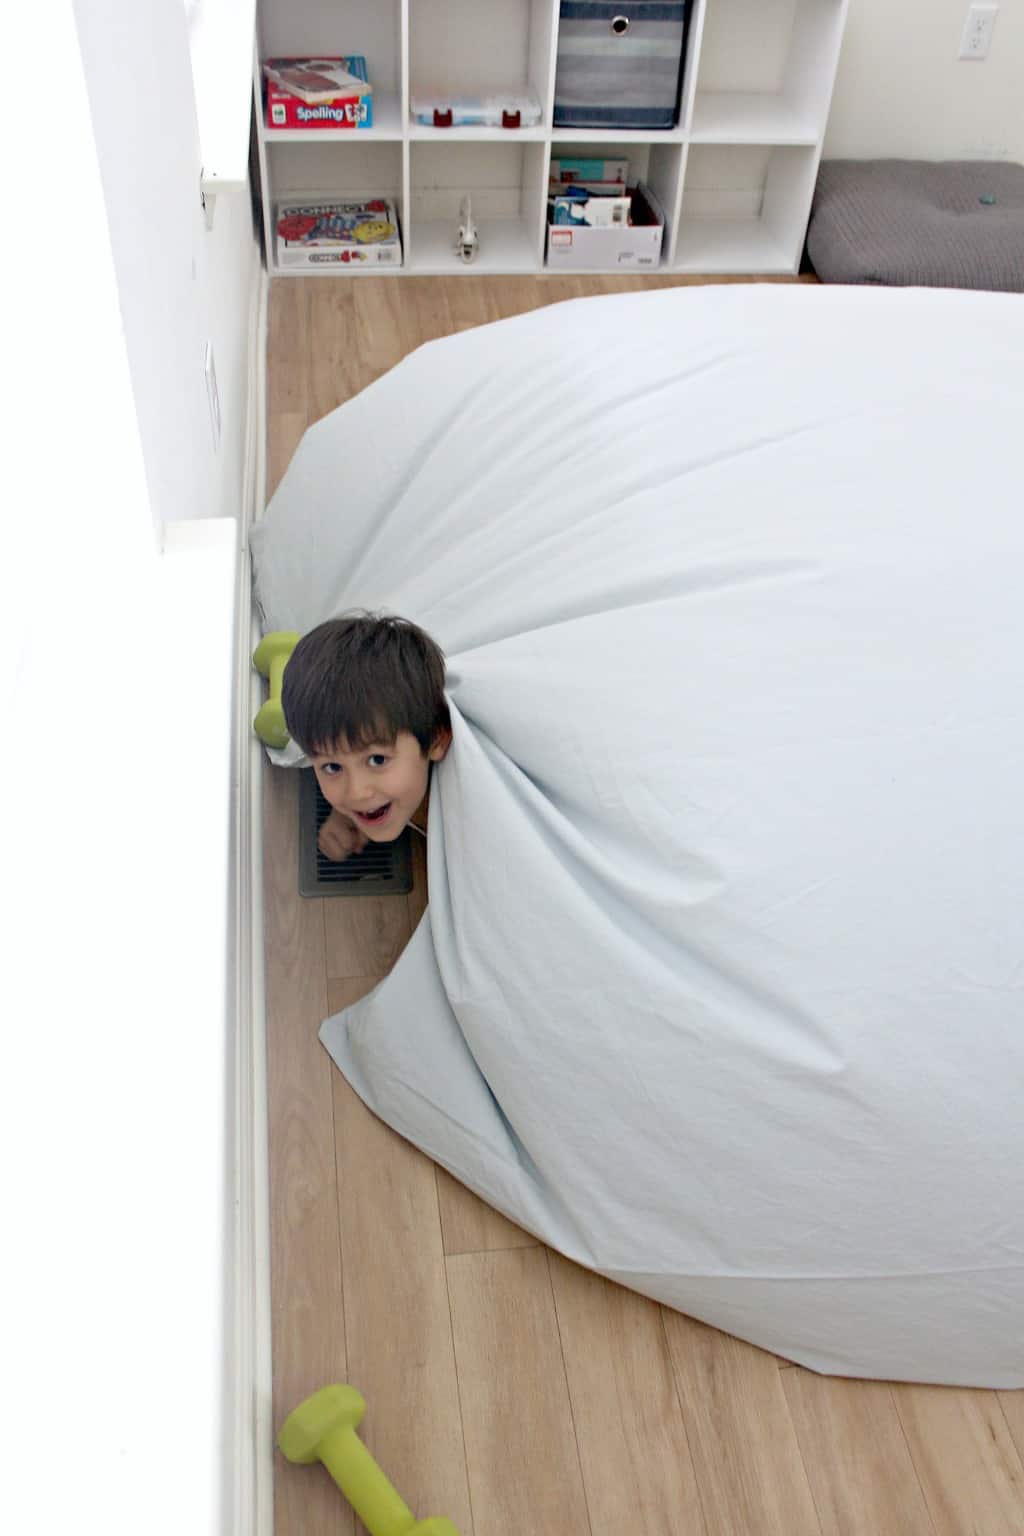
Sometimes when the air fort starts to inflate the air is so powerful that the sheet will lift off of the floor!
This can also happen when kids rustle around inside the air fort, dislodging the sheet.
To prevent this, place weights or books to hold the sheet in place.
If you have a duvet cover, you should place the weight around the mouth of the cover, locking it around the vent opening.
If you are using fitted sheets, use them all around the edges — if you notice additional lifting, place additional weights.
Here you can see my son peeking his head out after removing one of the weights.
#4. Watch the air fort inflate
Once you have the air fort sheets secured, the air fort will immediately start to puff up like a balloon!
(Kids LOVE this part!)
#5. Climb inside and play!
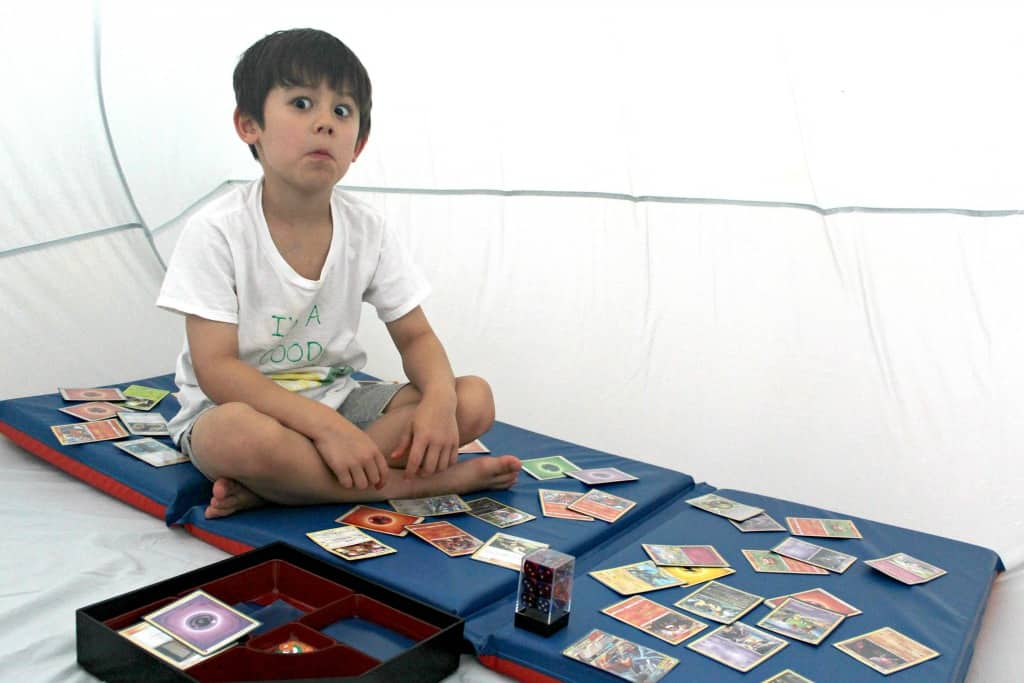
Allow the air fort to fully inflate and then the kids can climb inside.
When you lift to enter, the air fort will start to deflate as it loses air, just like a balloon.
Tell your kids to move fast and reclose the entrance once they get inside (you can also help them from the outside until they get used to figuring out how to do it themselves.)
Now they can play in their very own air fort tent!
MORE PLAYTIME IDEAS:
- 120 Mindful Earth Day Activities for Kids and Adults
- How to Make a Chunky Fox Tail Out of Yarn (Easy DIY)
PIN THIS DIY AIR FORT IDEA!

